
Swapping an old tub for a walk-in shower is one of the most common bathroom jobs we do. From the hallway it looks simple: tub out, shower in. The part that decides whether the new shower lasts is everything you never see once the tile goes up.
Here is what actually happens behind the wall and under the floor, one layer at a time, so you know what to ask about before the old tub leaves the house.
Layer 1: Demolition and the First Look
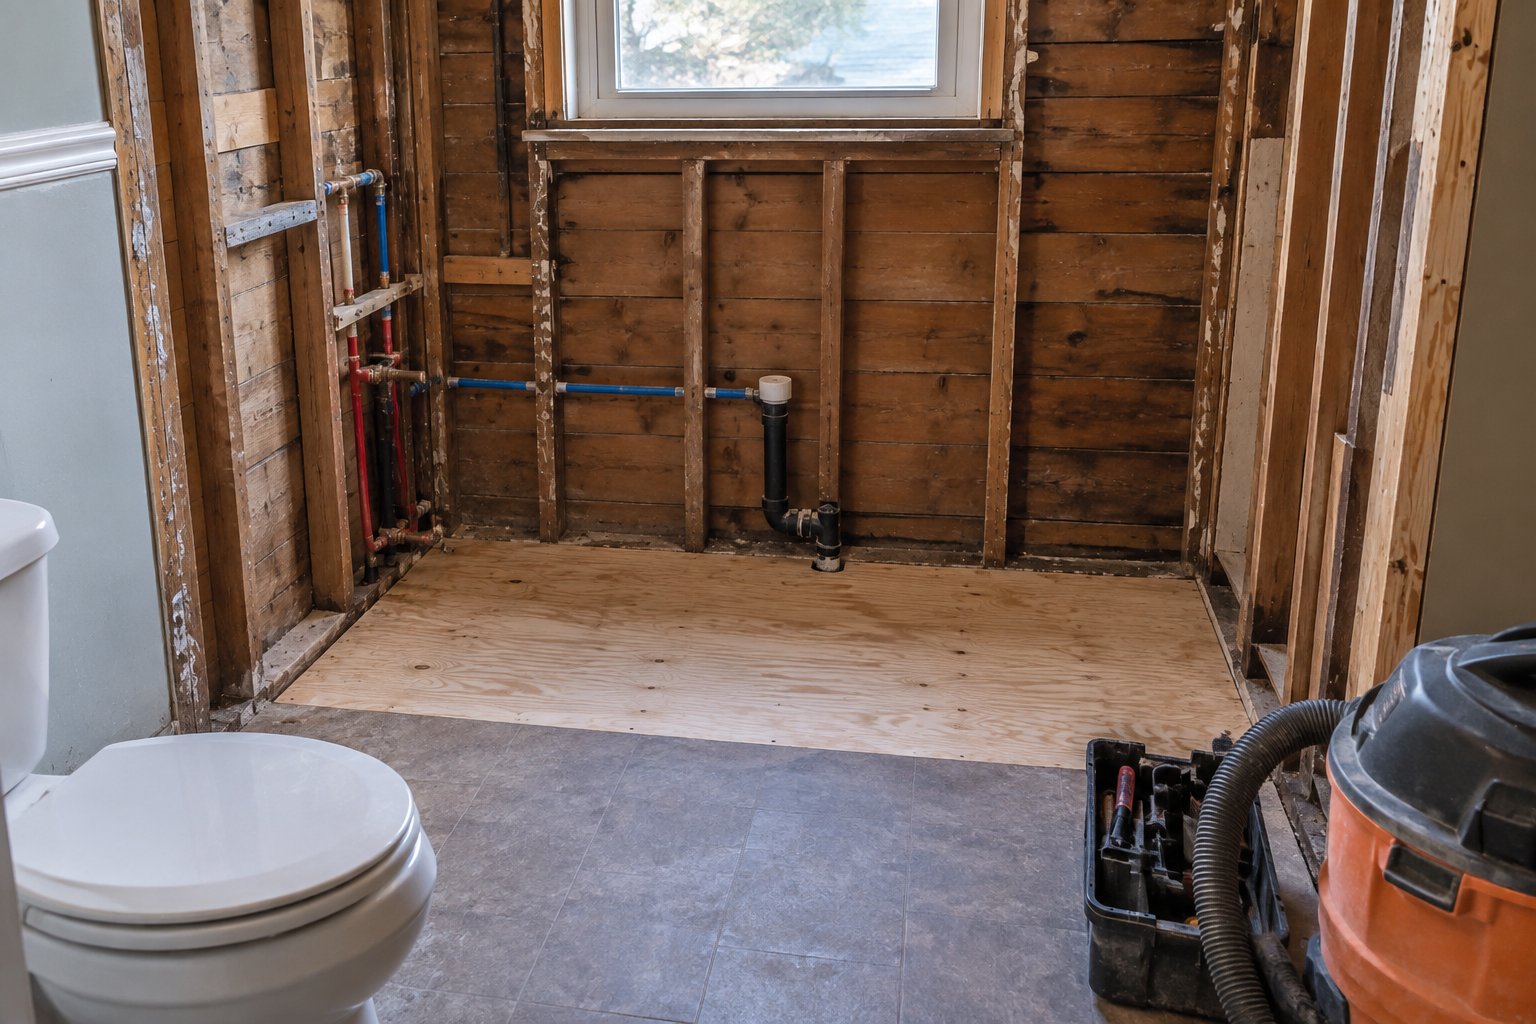
The tub, the surround, and the wall surface around it come out down to the studs. This is the moment of truth. Older bathrooms often hide soft subfloor next to the tub, old leaks around the valve, or framing that was notched for past plumbing. A good crew stops here and shows you what they found before anything gets covered back up.
Ask: What happens if you find rot or a past leak, and how will you tell me before moving on?
Layer 2: Floor Framing and Subfloor
A tub spreads its weight over a wide footprint. A shower pan puts water, tile, and a person in the same spot every day, so the floor under it has to be solid and flat. Any damaged subfloor gets cut out and replaced, and joists get sistered if they have been weakened. Skipping this step is how you get cracked grout lines within the first year.

Layer 3: The Drain
Tub drains usually sit at one end of the tub and are smaller than what a shower needs. Converting almost always means moving the drain to the new pan location and upsizing it, with the right slope on the line underneath. On a first floor that is often done from the basement. On a second floor it can mean opening the ceiling below, which is worth knowing before you schedule the job.
Layer 4: The Valve and Supply Lines
With the wall open, this is the cheapest time you will ever have to replace the shower valve. A pressure-balancing or thermostatic valve keeps the water from turning scalding when someone runs the washer. It is also when you decide where the controls go. Putting them near the entry instead of under the showerhead lets you turn the water on without getting soaked.
This is also the time to add blocking between the studs for grab bars or a fold-down seat, even if you do not want them installed yet. Blocking costs very little with the wall open and a lot once it is tiled.
Layer 5: Waterproofing
This is the layer that matters most. Tile and grout are not waterproof. Water gets through them every single shower, and the waterproofing behind them is what keeps it out of your walls. That means a properly sloped pan, a continuous membrane on the walls and floor, and sealed seams, corners, niches, and pipe penetrations. Many installers flood-test the pan for a day before tile goes down to prove it holds.
Ask: What waterproofing system are you using, and will you flood-test the pan?

Layer 6: Ventilation
A walk-in shower, especially a curbless one or one with a glass panel instead of a full door, lets more steam into the room than a tub with a curtain. If your bathroom has an old, noisy fan or no fan at all, fix it now while the ceiling work is easy. Our vent fan buying guide covers how to size one for the room.
Layer 7: Tile, Glass, and Finish
Only now does the part everyone pictures show up: tile, a niche for shampoo, the glass, the trim. Because the layers underneath were done right, this stage is mostly about choices you get to enjoy. Larger floor tiles need more care with slope, and smaller tiles or mosaics on the shower floor give better grip underfoot.

Curb or Curbless?
A low curb is simpler and works in almost any bathroom. A curbless entry looks clean and is easier to step into as you get older, but it usually means recessing the floor framing so the pan can slope without a lip, which adds work to Layer 2. It is a great option, just one to decide on early rather than halfway through.
If You Have More Than One Project in Mind
If a shower conversion is part of a bigger list, the order you do things in matters. This post on sequencing remodeling projects walks through what should come first so you are not paying to open the same wall twice.
Talk It Through
We handle tub-to-shower conversions across Wayne County and the surrounding towns in Cayuga and Oswego counties. Call or text (315) 754-9996 to set up a consultation, and we will look at what is behind your walls with you before anything gets decided.
Related Pages
Ready to Start Your Project?
Veteran owned & operated · Lifetime warranty on all craftsmanship
Financing Available
Check what you qualify for in 60 seconds — no impact to your credit score.
Ready to Start Your Project?
TGM Contracting & Remodeling — Veteran-owned, serving Wayne County, northern Cayuga & western Oswego County